Terminology
(Online Status) Online:
When an HMI goes online, it sends keep-alive information to a keep-alive server and lets all EasyAccess 2.0 clients know it is ready for connection. There is still no connection in this state unless one EasyAccess 2.0 client connects to it.
(Online Status) Occupied:
When an EasyAccess 2.0 client connects to the HMI, then the HMI is occupied and no other EasyAccess 2.0 client can connect to it until it is disconnected.
EasyBuilder Pro System Tags
A number of system tags are added to EasyBuilder Pro for exclusive use of EasyAccess 2.0.
| System Tag | Function |
| LW-10820 (16bit) | Connect/Disconnect EasyAccess 2.0 0: Disconnect 1: Connect |
| LW-10828 (16bit) | EasyAccess 2.0 Online Status 0: Disable 1: Offline 2: Online 3: Occupied 4: Download client update |
| LW-10829 (16bit) | Error code provides information about error status while the HMI is going online on EasyAccess 2.0. 0: Success. (Connection successful) 1: Not activated. ( EasyAccess 2.0 function is not activated on the HMI) 2: Log-in timeout (Outbound connection is broken or the server is down) 3: Certificate expired (License Key has expired. Please check with distributor.) 4: HMI client not ready (Open and close client too frequently) 5: HMI client will update (Update is downloaded and ready) 6: HMI client does not exist (Client program does not exist in HMI memory) |
| LW-10821 | (5words, ASCII) Session ID. This is used to add an HMI to a Domain. |
| LW-10826 | (2words, ASCII) Session Password. This is used to add an HMI to a Domain |
| LW-11210 | (20words) Hardware Key |
| LW-11296 | (16bit) Location of EasyAccess 2.0 server 0: Global 1: China |
Note: Demo pages using these system registers have been added to the template file in EasyBuilder Pro. Look for them when opening a new file to save time in your project design. Refer to Appendix for an example.
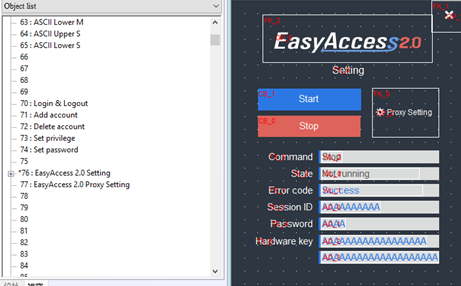
EasyAccess Page in the Template File
Example for preparing EasyAccess 2.0 page
Here are the steps for preparing EasyAccess 2.0 page from the new template file in EasyBuilder Pro.
1. Create a new project using templates, and you can see window #76 as below:
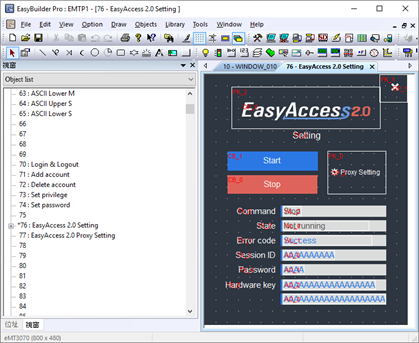
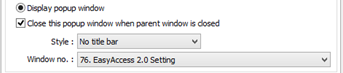
2. In window #10, add a [Function Key] object to popup window #76.
3. Download the project to HMI.
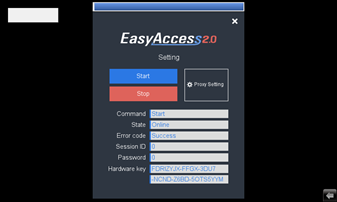
4. On HMI, click the [Function Key] object which was just added.
5. Click “Start” button. If the network setting of the HMI is correct, the state will be online like the following:
Comments
1 comment
How to set date and time
Please sign in to leave a comment.